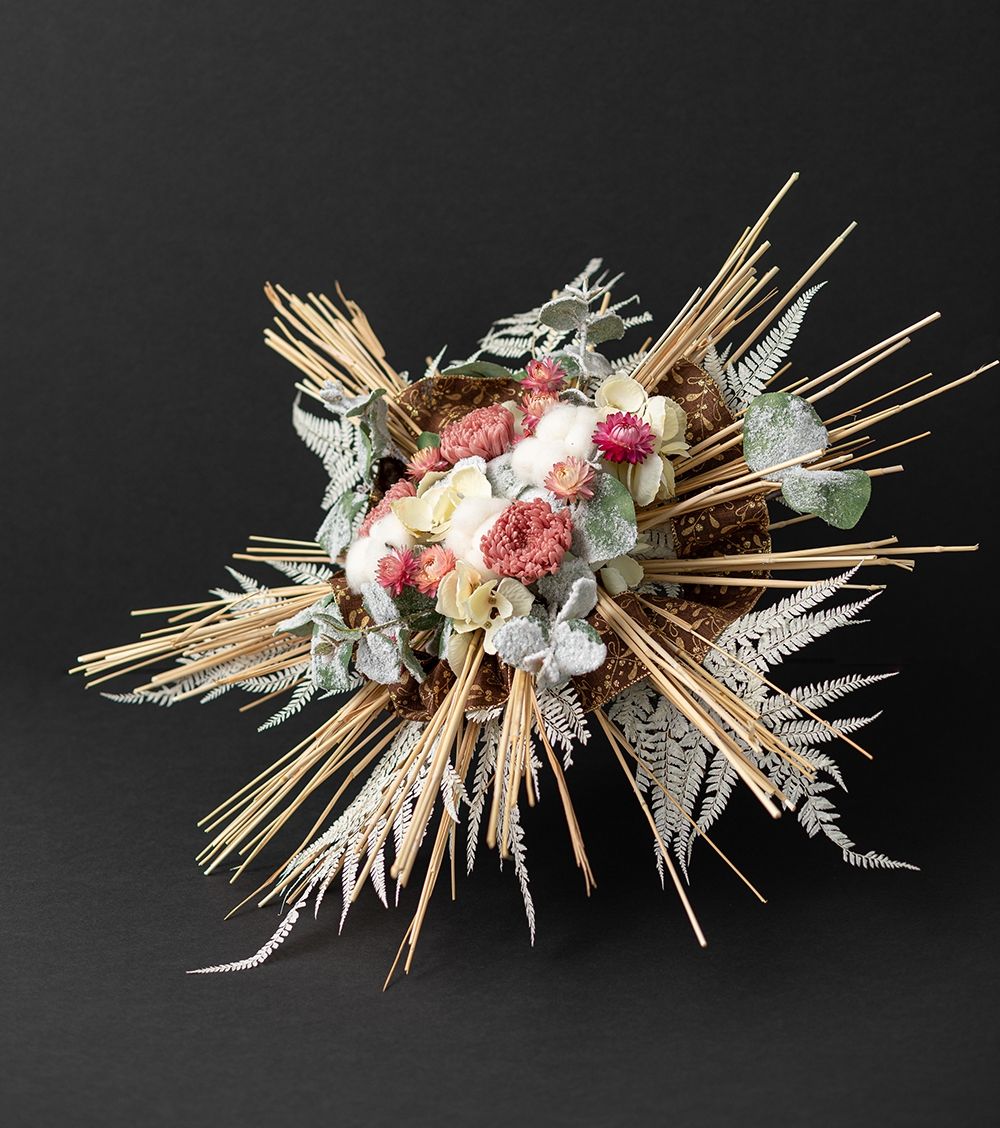
Gold and pink bound bouquet – commercial level
Published on October 25, 2020
WHAT IS THE DIFFERENCE BETWEEN A DEMONSTRATIVE AND COMMERCIAL ARRANGEMENT?
Let us start at the beginning and explain the difference in between both of these arrangements.
A demonstrative bouquet is used to demonstrate what you can do and achieve. Basically, you showcase your technical and creative abilities. Think of it as your curriculum or portfolio. You are testing your knowledge on the market; you take beautiful pictures and show it to potential customers.
DIFFÉRENCE ENTRE UN BOUQUET COMMERCIAL ET DÉMONSTRATIF.
Commençons par le commencement.
Un bouquet démonstratif est utilisé pour démontrer vos compétences techniques et votre créativité. C’est le bon moment d’être confiant et de vous mettre de l’avant. Pensez un peu à ce bouquet comme étant votre curriculum vitae ou encore votre portfolio. Vous testez vos connaissances sur le marché, vous avez de belles photos et une belle boutique, maintenant c’est l’heure d’épurer pour la vente !
WHAT IS THE DIFFERENCE BETWEEN A DEMONSTRATIVE AND COMMERCIAL ARRANGEMENT?
Let us start at the beginning and explain the difference in between both of these arrangements.
A demonstrative bouquet is used to demonstrate what you can do and achieve. Basically, you showcase your technical and creative abilities. Think of it as your curriculum or portfolio. You are testing your knowledge on the market; you take beautiful pictures and show it to potential customers.
DIFFÉRENCE ENTRE UN BOUQUET COMMERCIAL ET DÉMONSTRATIF.
Commençons par le commencement.
Un bouquet démonstratif est utilisé pour démontrer vos compétences techniques et votre créativité. C’est le bon moment d’être confiant et de vous mettre de l’avant. Pensez un peu à ce bouquet comme étant votre curriculum vitae ou encore votre portfolio. Vous testez vos connaissances sur le marché, vous avez de belles photos et une belle boutique, maintenant c’est l’heure d’épurer pour la vente !
WHAT IS THE DIFFERENCE BETWEEN A DEMONSTRATIVE AND COMMERCIAL ARRANGEMENT?
Let us start at the beginning and explain the difference in between both of these arrangements.
A demonstrative bouquet is used to demonstrate what you can do and achieve. Basically, you showcase your technical and creative abilities. Think of it as your curriculum or portfolio. You are testing your knowledge on the market; you take beautiful pictures and show it to potential customers.
Un bouquet commercial reprend les idées du bouquet démonstratif, mais en simplifiant les éléments et les techniques. Vous aurez à en faire beaucoup et parfois en série, on pense un peu à la fête de la Valentin en vous disant ceci 😉. Plus vous simplifiez vos idées et votre savoir-faire, plus vous augmentez votre efficacité et votre rendement.
Dans ce 2e vidéo du bouquet lié, Isabel nous démontre comment réaliser un arrangement simplifié commercial, avec les techniques expliquées dans le premier volet du bouquet lié démonstratif.
Votre défi et objectif est le même. Appliquer la technique démonstrative au commercial. Bref, comment vous mettre sur votre 31 tous les jours . 😉
Now to the commercial bouquet.
A commercial arrangement will take the same avenue as the demonstrative one you made by simplifying the elements and techniques. You will often have to produce many of them, think Valentine’s day 😉. The more you simplify your design and ideas and the more you become efficient in time and money-wise. Therefore, one is to display what you can do and the other is to commercialize/sell.
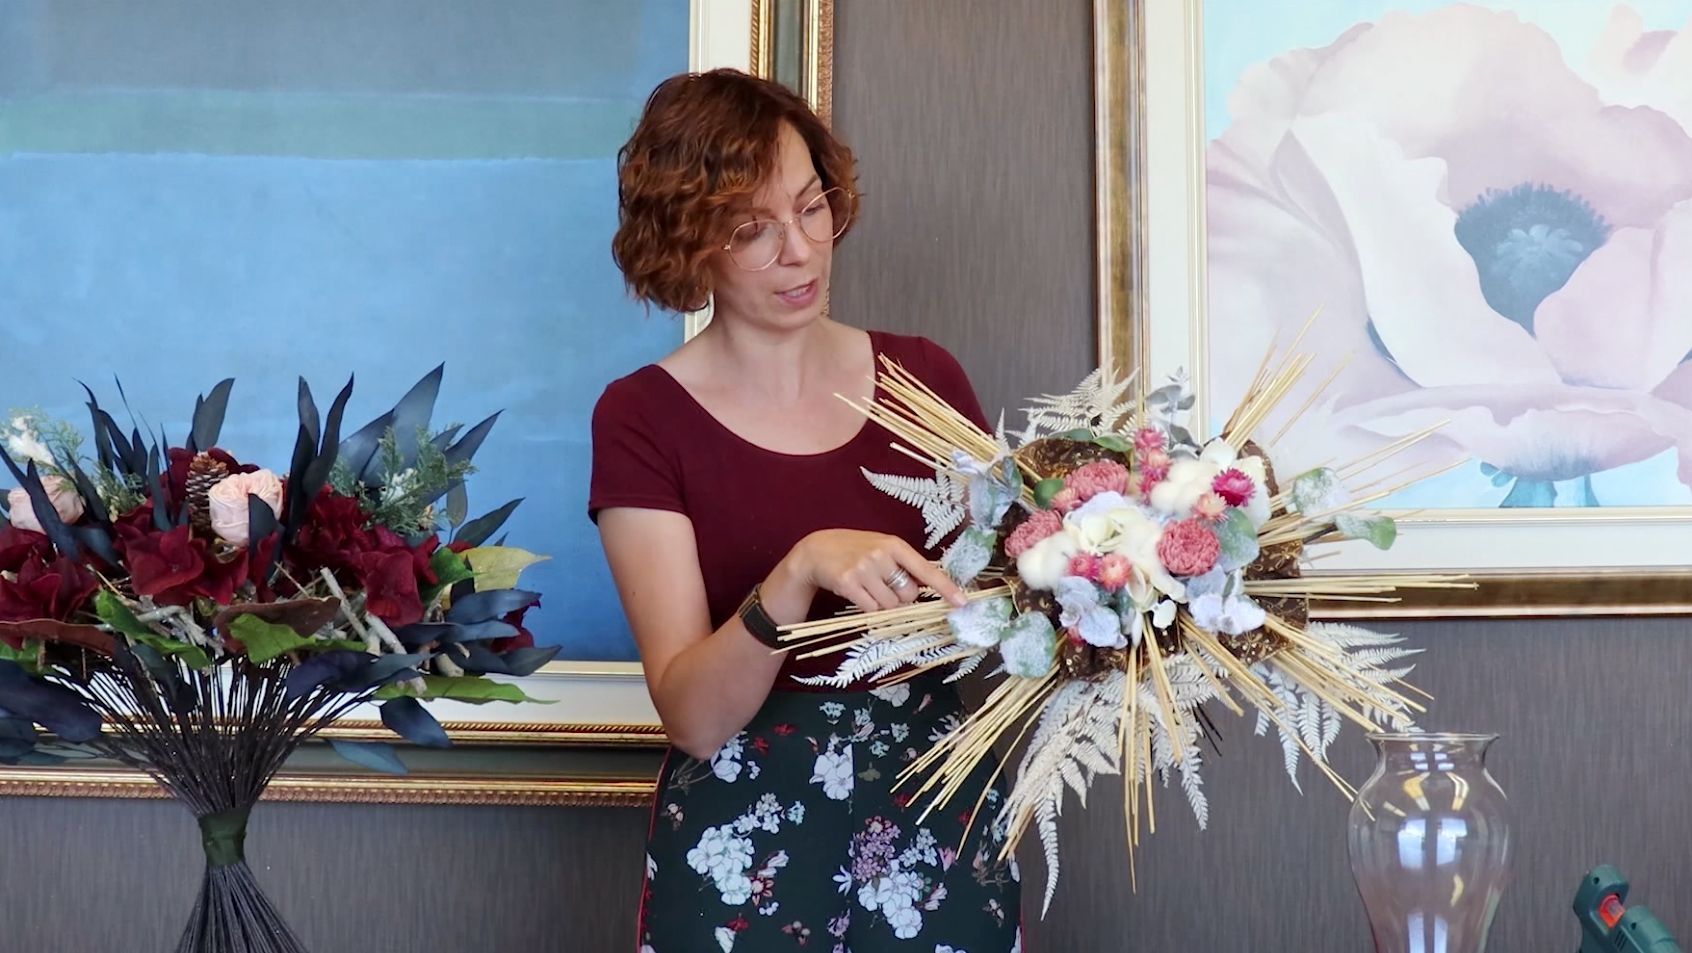
In this second bound bouquet video, Isabel will show you how to make a simplified commercial arrangement using the same technique as in the video about the demonstrative bound bouquet.
Your objective and challenge is the same. Use the demonstrative technique on a commercial bouquet, or if you prefer, how to use your best skills in everyday arrangements.
Un bouquet commercial reprend les idées du bouquet démonstratif, mais en simplifiant les éléments et les techniques. Vous aurez à en faire beaucoup et parfois en série, on pense un peu à la fête de la Valentin en vous disant ceci 😉. Plus vous simplifiez vos idées et votre savoir-faire, plus vous augmentez votre efficacité et votre rendement.
Dans ce 2e vidéo du bouquet lié, Isabel nous démontre comment réaliser un arrangement simplifié commercial, avec les techniques expliquées dans le premier volet du bouquet lié démonstratif.
Votre défi et objectif est le même. Appliquer la technique démonstrative au commercial. Bref, comment vous mettre sur votre 31 tous les jours . 😉


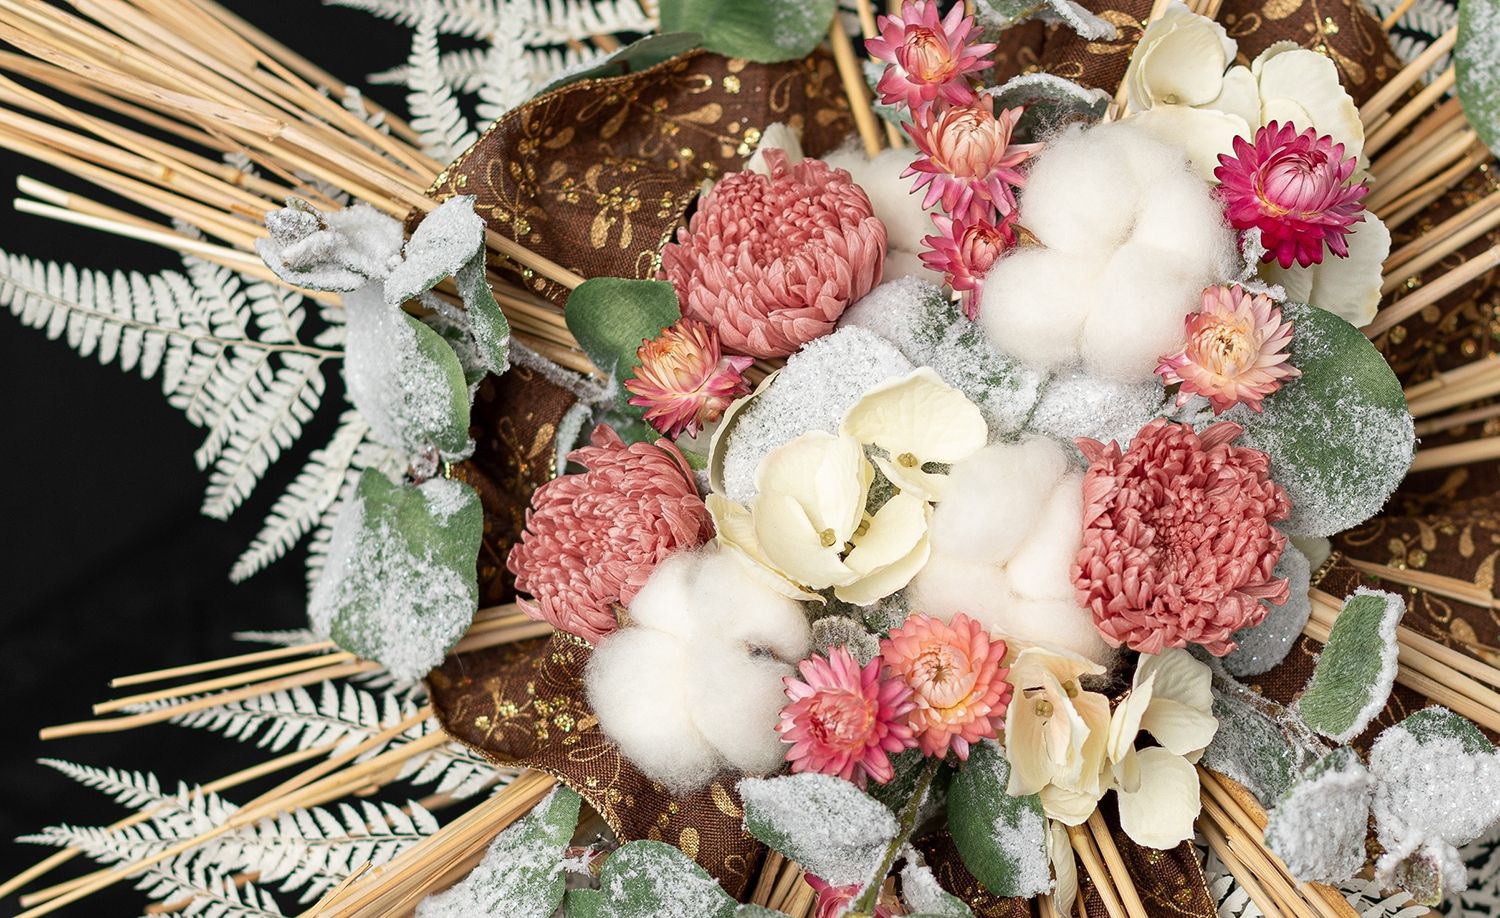
PRODUCTS USED IN THIS PRESENTATION
- Delicate white fern 700-393
-
Natural wheat stem 704-016
Pink Helichrysum strawflowers 700-631
Medium cacao pink Mum ringiku 700-453
Natural cotton stem 704-640
Cream hydrangea stem 654-202
Snowy eucalyptus stem 654-463
"Golden berry" wired ribbon 320-102
Brown Floratape 404-077
Hot glue sticks 404-314
Hot glue gun 404-311
Enamelled wire 404-097
Your choice of tools (wire cutters, pruner, knife, etc.)
PRODUITS UTILISÉS
- Fougère miniature blanche 700-393
-
Tige de blé barbu séché naturel 704-016
Helichrysum strawflowers rose 700-631
Mum ringiku médium rose cacao 700-453
Tige de coton naturel 704-640
Tige d’hydrangée crème 654-202
Tige d’eucalyptus enneigée 654-463
Ruban broché "Golden Berry" 320-102
Floratape brun 404-077
Colle chaude 404-314
Gun à colle chaude 404-311
Broche émaillée 404-097
Vos outils préférés (coupe-broche, pince, couteau, etc.)
STEPS
- Stem all your design elements before starting.
- Build the structure with branches or wheat stems. Attach them securely with bent wires. Create the shape and design you want.
- Insert all stems the will serve as background to your bouquet. In the video, Isabel used snowy eucalyptus and cotton as her canvas.
- Insert your floral accents. You can have more than one but careful to not over do it.
- Add some unexpected elements for more dynamism.
A ribbon well placed, stars or a card can play a big role in creating a fun and interesting bouquet. - Finish your arrangement with leaves for an aerial and voluminous effect to an otherwise rigid structure.
- Bound your bouquet very tightly because you do not want to lose its shape.
- Cut the stems if too long or as needed.
- Wrap your arrangement and it is ready to go to find its new home!
ÉTAPES
- Tiger les éléments que vous désirez utiliser s’ils ne le sont pas déjà.
- Créer la structure avec des branches ou des tiges de blé sans les têtes. Relier et attacher avec de la broche pliée au préalable.
Assembler la base selon votre design ou la forme du bouquet désirée. - Insérer les tiges qui serviront de base à votre bouquet. Dans le vidéo, Isabel a utilisé l’eucalyptus enneigé et des têtes de coton comme toile de fond.
- Placer vos fleurs d’accent.
- Ajouter des éléments inattendus comme un beau ruban. Le coller en place si vous désirez plus de solidité.
- Terminer votre bouquet par quelques tiges de feuillage aérien pour la finition et pour donner du volume à votre structure de base plus rigide.
- Attacher le bouquet serré pour qu’il ne perde pas sa forme et ne s’espace pas.
- Couper les tiges trop longues.
- Emballer votre bouquet pour qu’il soit prêt à partir !


J’espère que la présentation vous aura donné le goût de créer et de vous amuser !
Si vous désirez nous faire savoir quels sujet ou technique vous aimeriez apprendre, laissez-nous un message sur info@fleurexpert.ca, Facebook ou Instagram.
J’espère que la présentation vous aura donné le goût de créer et de vous amuser !
Si vous désirez nous faire savoir quels sujet ou technique vous aimeriez apprendre, laissez-nous un message sur info@fleurigros.ca, Facebook ou Instagram.
J’espère que la présentation vous aura donné le goût de créer et de vous amuser !
Si vous désirez nous faire savoir quels sujet ou technique vous aimeriez apprendre, laissez-nous un message sur info@florebella.ca, Facebook ou Instagram.
We hope this article and video gave you inspiration and the urge to create! Have fun and explore this technique as needed.
If you would like to know more about a product, a technique or a specific design, let us know by email at info@fleurexpert.ca, Facebook or Instagram.
We hope this article and video gave you inspiration and the urge to create! Have fun and explore this technique as needed.
If you would like to know more about a product, a technique or a specific design, let us know by email at info@florebella.ca, Facebook or Instagram.
We hope this article and video gave you inspiration and the urge to create! Have fun and explore this technique as needed.
If you would like to know more about a product, a technique or a specific design, let us know by email at info@fleurigros.ca, Facebook or Instagram.
