Reversed Wreath
Published on November 15, 2020
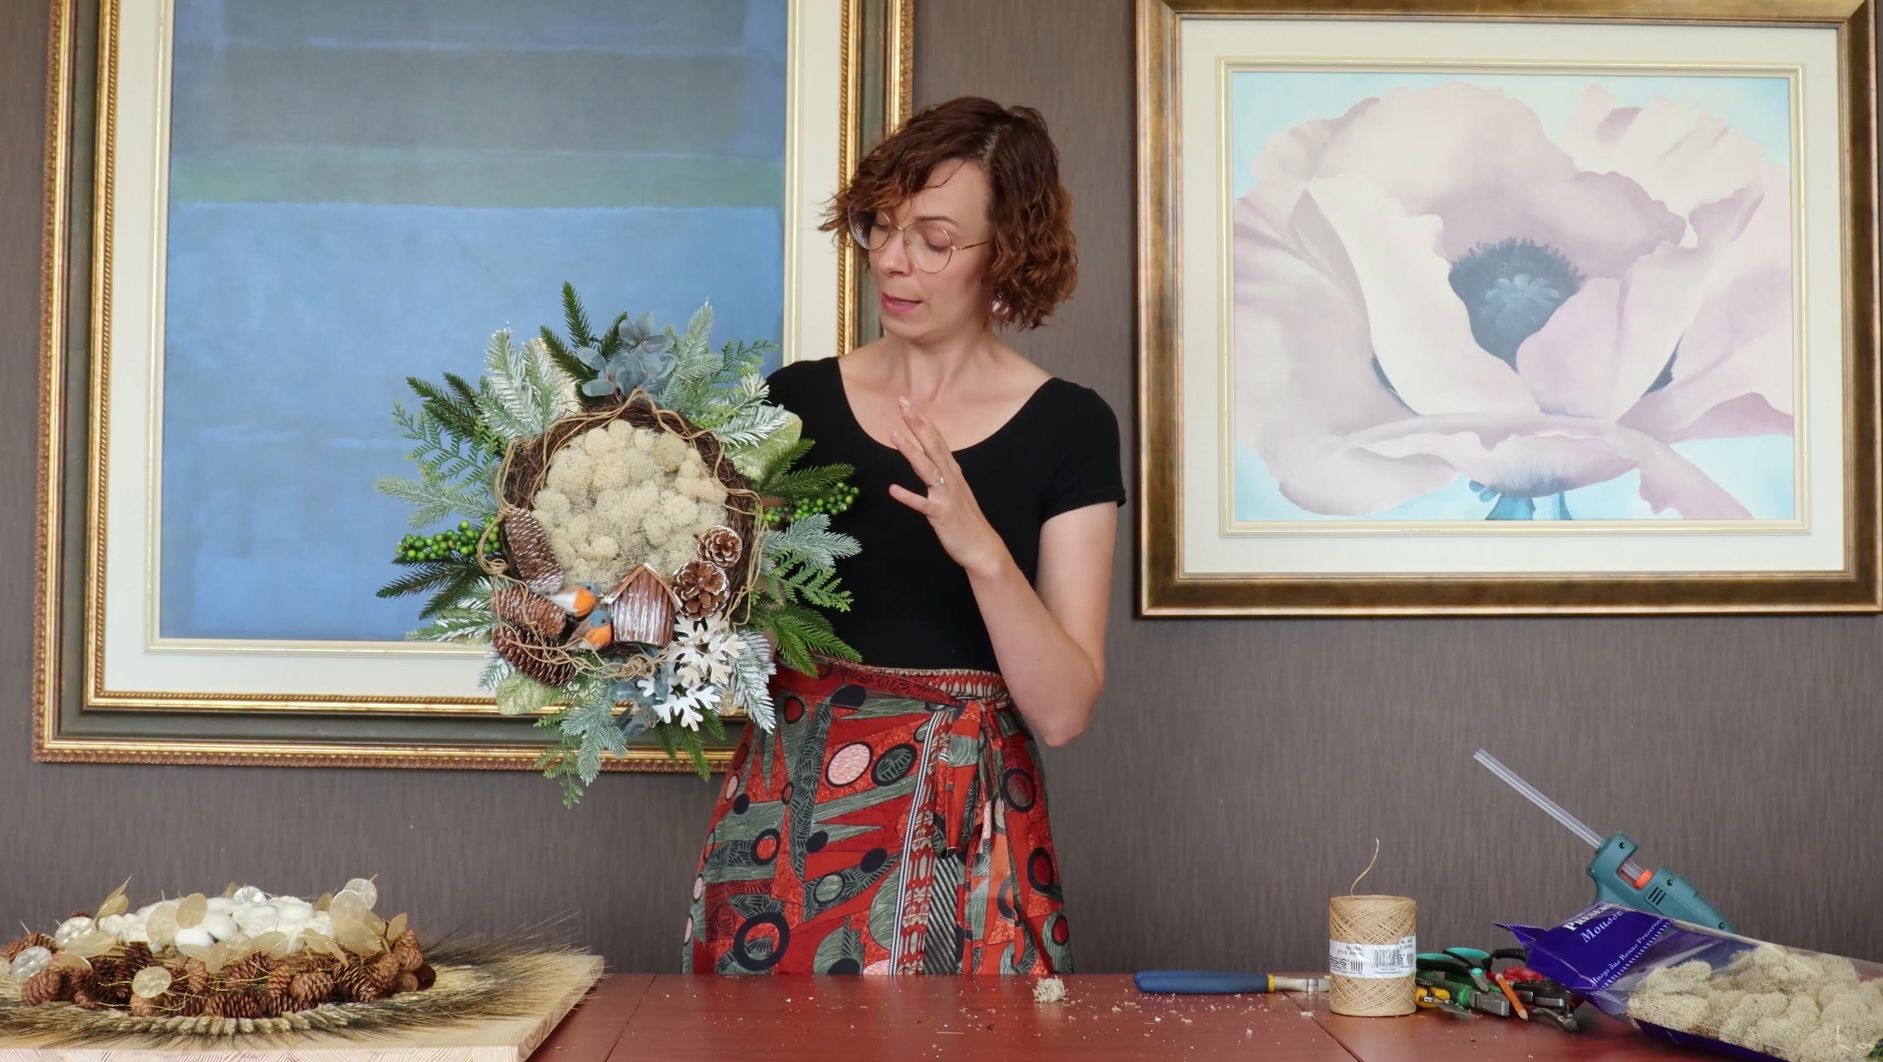
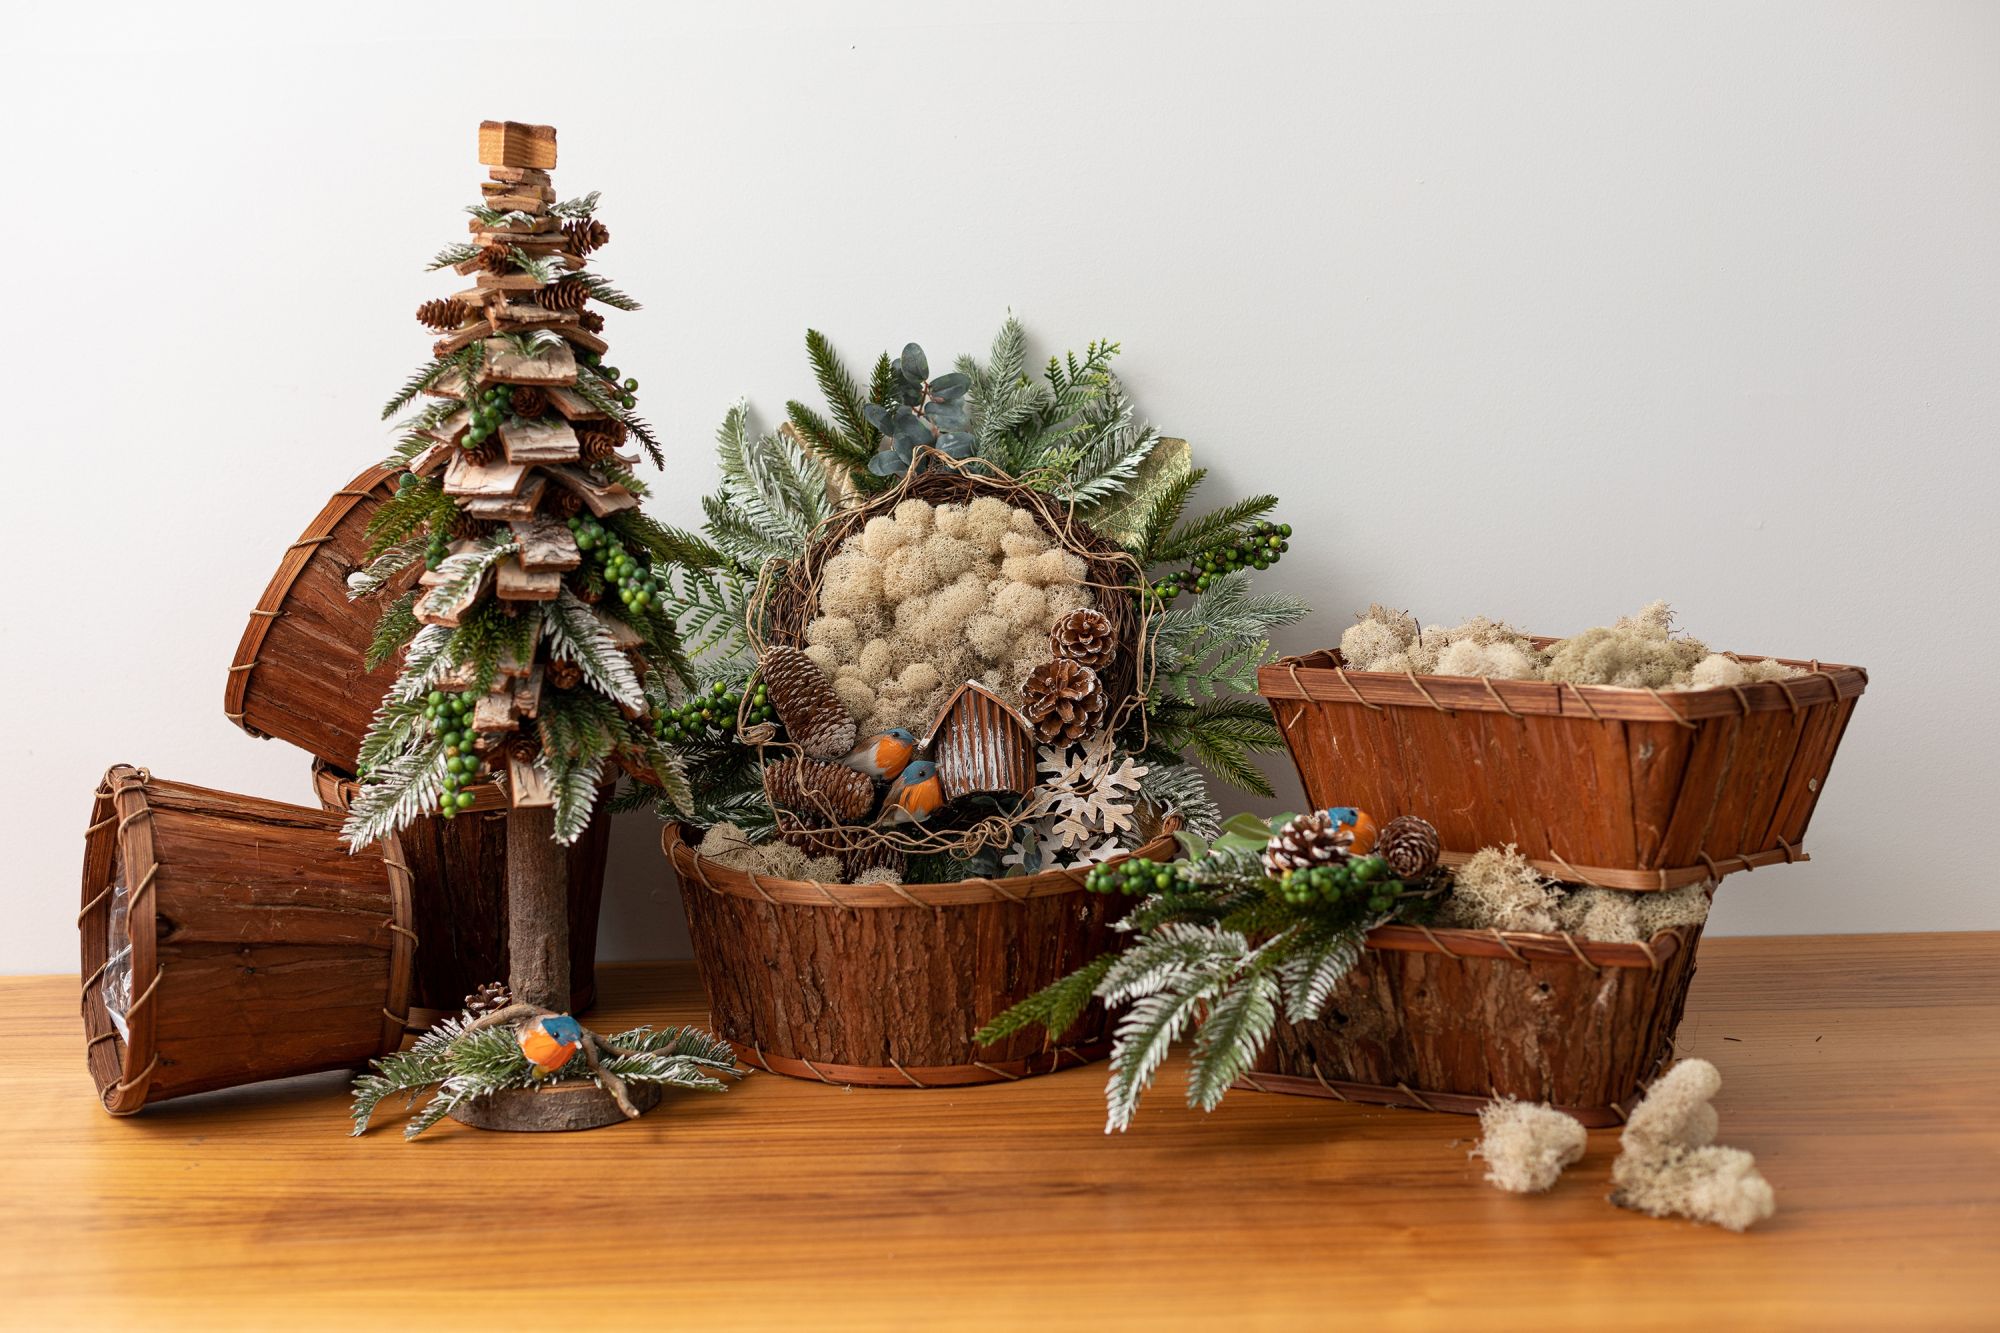
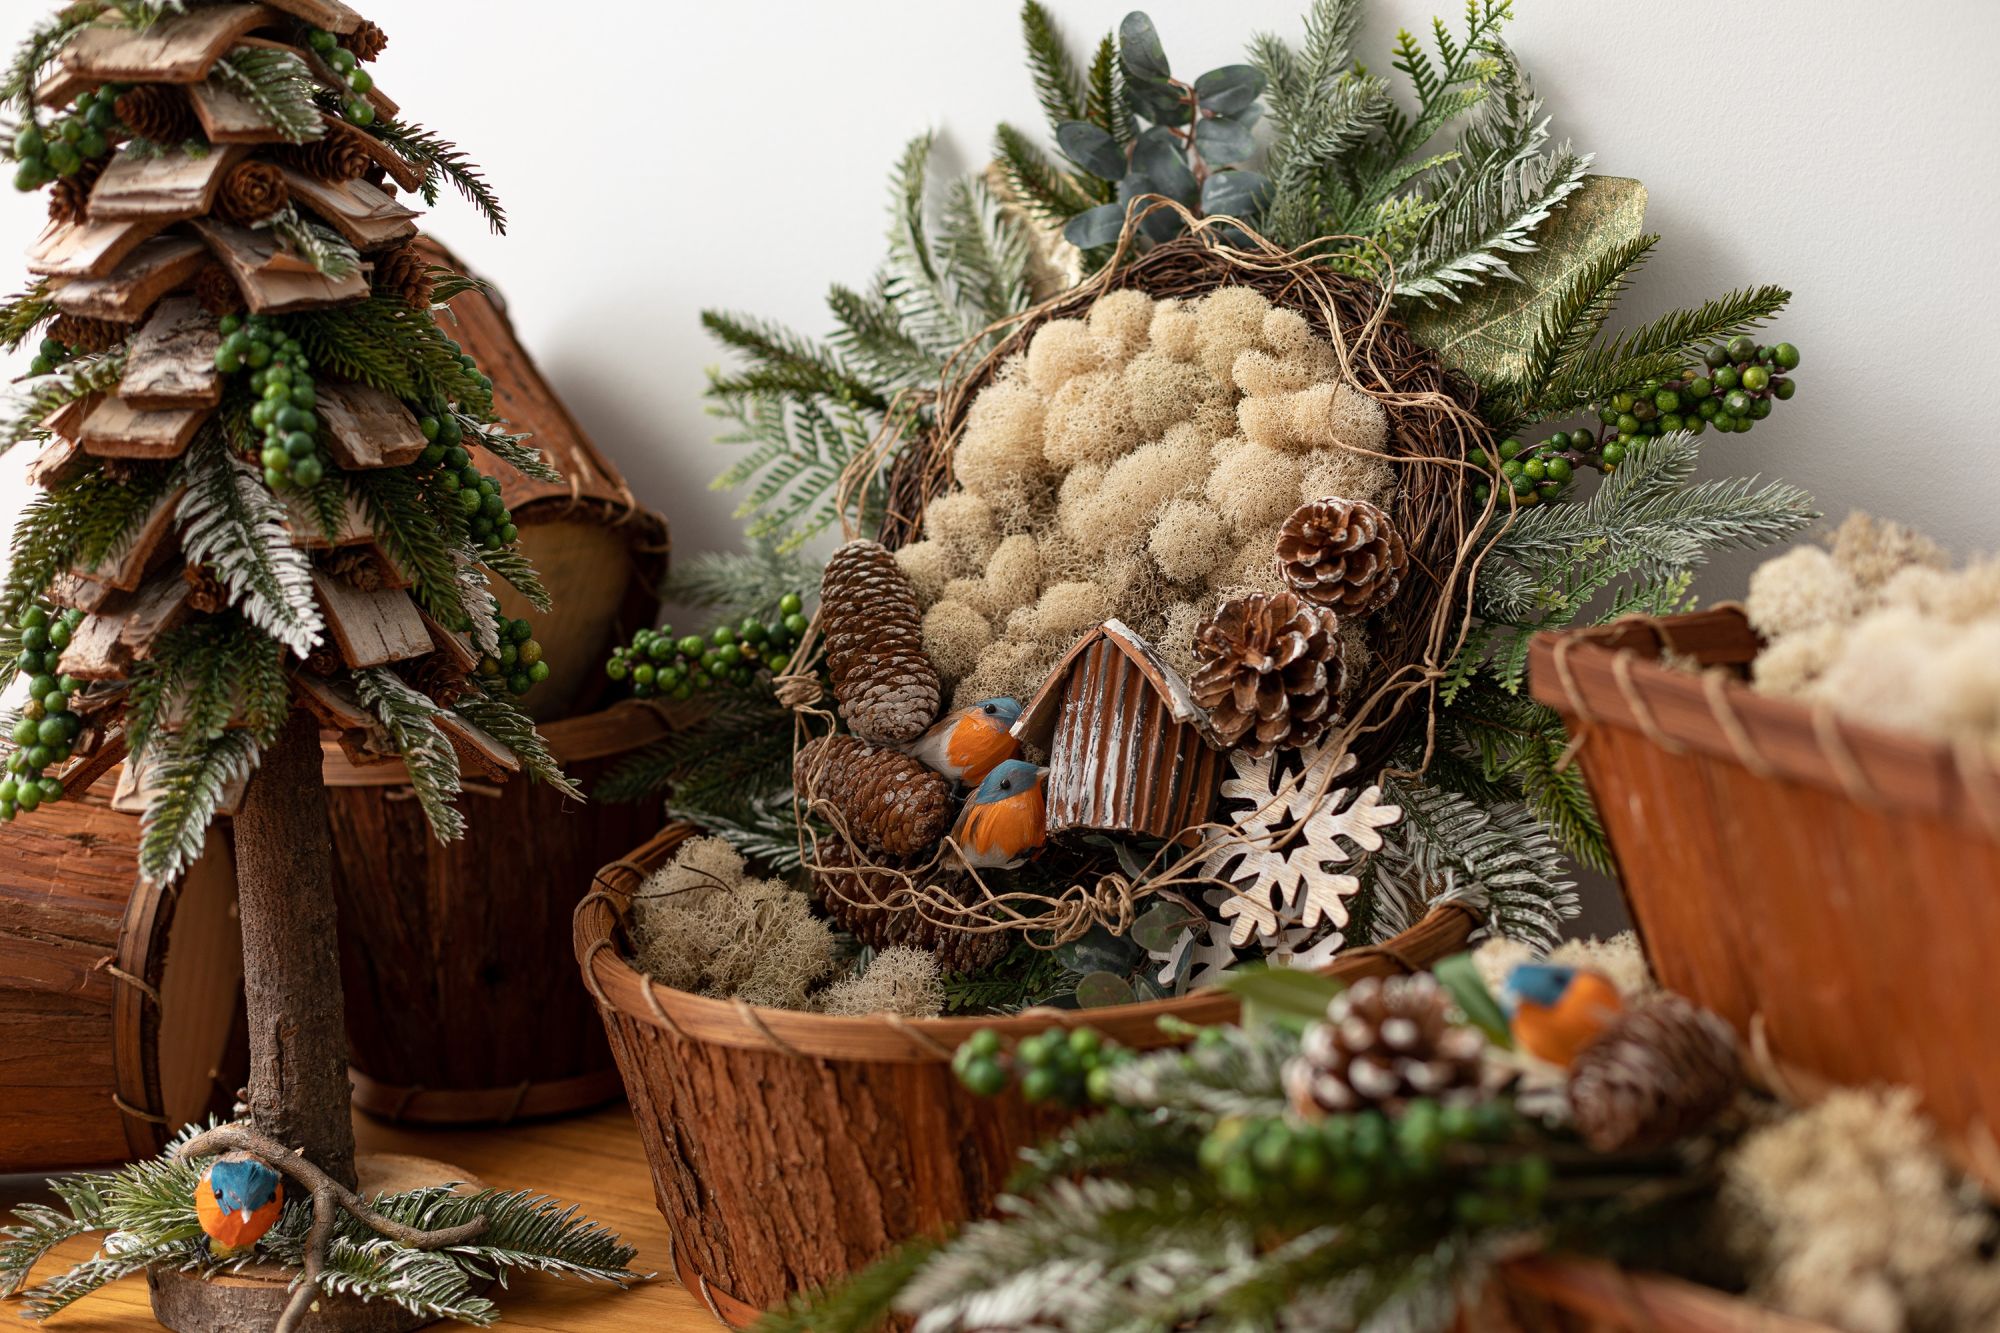
Similar to its traditional version, the reversed wreath gives you a lot more space to create. You can add flowers outside, on it and inside. And do not worry; you will not end up with a circle. By changing the textures, the colours and the products, you will get a double or triple wreath!
Semblable à sa version traditionnelle, la couronne inversée permet une plus grande surface de création. Vous pouvez y ajouter des fleurs sur le pourtour ainsi qu’à l’intérieur. Vous me direz oui, mais ça nous donnera un cercle alors !
Et bien pas nécessairement! C’est justement là où votre doigté créateur et votre imagination prendront le dessus. En changeant les matières, les textures et les couleurs, vous obtenez une double couronne. Amusez-vous allègrement !
Similar to its traditional version, the reversed wreath gives you a lot more space to create. You can add flowers outside, on it and inside. And do not worry; you will not end up with a circle. By changing the textures, the colours and the products, you will get a double or triple wreath!
Semblable à sa version traditionnelle, la couronne inversée permet une plus grande surface de création. Vous pouvez y ajouter des fleurs sur le pourtour ainsi qu’à l’intérieur. Vous me direz oui, mais ça nous donnera un cercle alors !
Et bien pas nécessairement! C’est justement là où votre doigté créateur et votre imagination prendront le dessus. En changeant les matières, les textures et les couleurs, vous obtenez une double couronne. Amusez-vous allègrement !
Similar to its traditional version, the reversed wreath gives you a lot more space to create. You can add flowers outside, on it and inside. And do not worry; you will not end up with a circle. By changing the textures, the colours and the products, you will get a double or triple wreath!


Visitez notre Pinterest pour de multiples idées pour la création de vos couronnes traditionnelles ou contemporaines.
PASSONS À LA DÉMONSTRATION!
Visitez notre Pinterest pour de multiples idées pour la création de vos couronnes traditionnelles ou contemporaines.
PASSONS À LA DÉMONSTRATION!
Visit our Pinterest for creative ideas for you traditional and less traditional wreath designs.
Visitez notre Pinterest pour de multiples idées pour la création de vos couronnes traditionnelles ou contemporaines.
PASSONS À LA DÉMONSTRATION!
Visit our Pinterest for creative ideas for you traditional and less traditional wreath designs.
Visit our Pinterest for creative ideas for you traditional and less traditional wreath designs.


STEPS
- Take the wreath and disassemble it. Keep all the elements.
TIP 💡
When you buy an already made wreath, it can make you save time and money. All colours are assorted and she will be full of fun elements you can play with once disassembled.
- Glue a rigid brown cardboard circle at the back of the wreath. You will use it as a base.
- Glue the leaves you removed from step 1.
- Add a hook at the back and fix it with hot glue.
- Glue a white cardboard or tick white paper disk at the back to cover up the stems. It is all about the finishing touch.
TIP 💡
By placing a pale or white cardboard behind your wreath, you are allowing your customer to write something special for themselves or for their loved ones. A nice memory to remember.
- Glue the preserved reindeer moss at the centre, onto the cardboard.
- Insert all your decorative elements.
- Finish it with a nice garland or a ribbon. Make sure it is well glued and solid.
ÉTAPES
- Prendre la couronne et défaire tous les éléments qui la composent.
ASTUCE 💡
Acheter une couronne déjà toute faite vous sauve du temps et de l’argent. Les couleurs sont déjà assorties et elle sera bien remplie. Il ne vous reste plus qu’à la désassembler.
- Coller un carton rigide au centre de l’arrangement qui servira de toile de fond.
- Recoller les feuilles qui ont été défaites à l’étape 1.
- Ajouter un crochet fait de corde ou de broche à l’arrière et le fixer à l’aide de colle chaude.
- Coller un disque de carton à l’arrière pour cacher les tiges à l’arrière. Tout est une question de finition.
ASTUCE 💡
Mettre un carton de couleur pâle permettra à votre client de faire une dédicace ou décrire un petit mot. Une touche personnalisée qui sera un beau souvenir à relire au fil des ans.
- Coller la mousse préservée sur le carton au centre de la couronne.
- Insérer vos éléments décoratifs tels que des oiseaux, flocons ou boulle.
- Ajouter en finition un ruban ou une guirlande. Assurez-vous de bien la coller pour plus de solidité.
ÉTAPES
- Prendre la couronne et défaire tous les éléments qui la composent.
ASTUCE 💡
Acheter une couronne déjà toute faite vous sauve du temps et de l’argent. Les couleurs sont déjà assorties et elle sera bien remplie. Il ne vous reste plus qu’à la désassembler.
- Coller un carton rigide au centre de l’arrangement qui servira de toile de fond.
- Recoller les feuilles qui ont été défaites à l’étape 1.
- Ajouter un crochet fait de corde ou de broche à l’arrière et le fixer à l’aide de colle chaude.
- Coller un disque de carton à l’arrière pour cacher les tiges à l’arrière. Tout est une question de finition.
ASTUCE 💡
Mettre un carton de couleur pâle permettra à votre client de faire une dédicace ou décrire un petit mot. Une touche personnalisée qui sera un beau souvenir à relire au fil des ans.
- Coller la mousse préservée sur le carton au centre de la couronne.
- Insérer vos éléments décoratifs tels que des oiseaux, flocons ou boulles.
- Ajouter en finition un ruban ou une guirlande. Assurez-vous de bien la coller pour plus de solidité.


